
Build Your First Workflow
A step-by-step PixelFlow tutorial: build a text-to-image workflow from a blank canvas, run it, iterate with pinning, and get it ready to publish as an API.
In this tutorial you'll build the classic starter workflow — prompt in, image out — and learn the editor moves you'll use in every workflow after it.
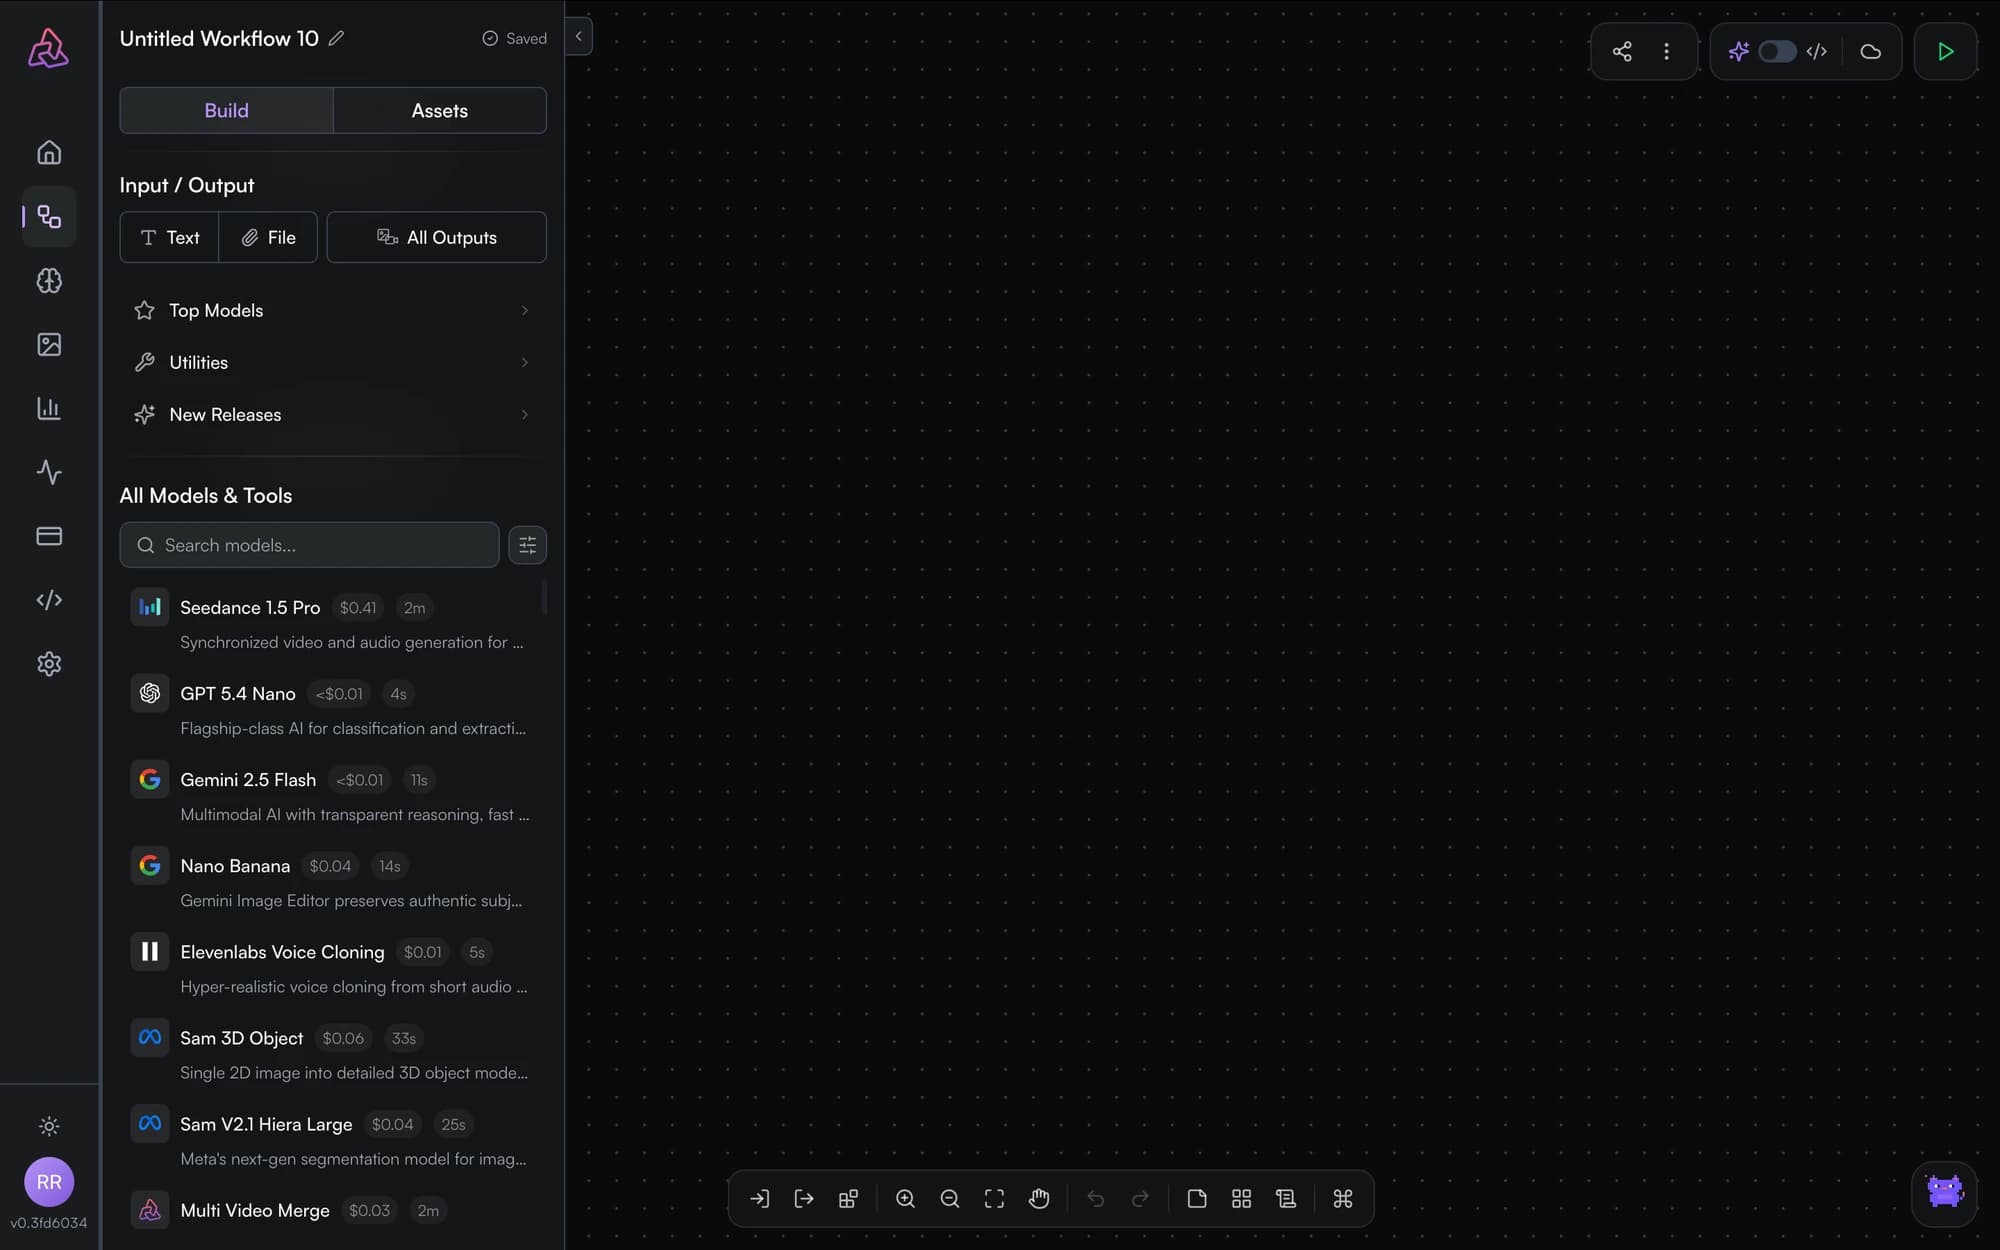
Add a text input
From the sidebar, add an Input node. Leave it in plain-text mode and type a prompt — try a lighthouse at dusk, dramatic sky, photographic.
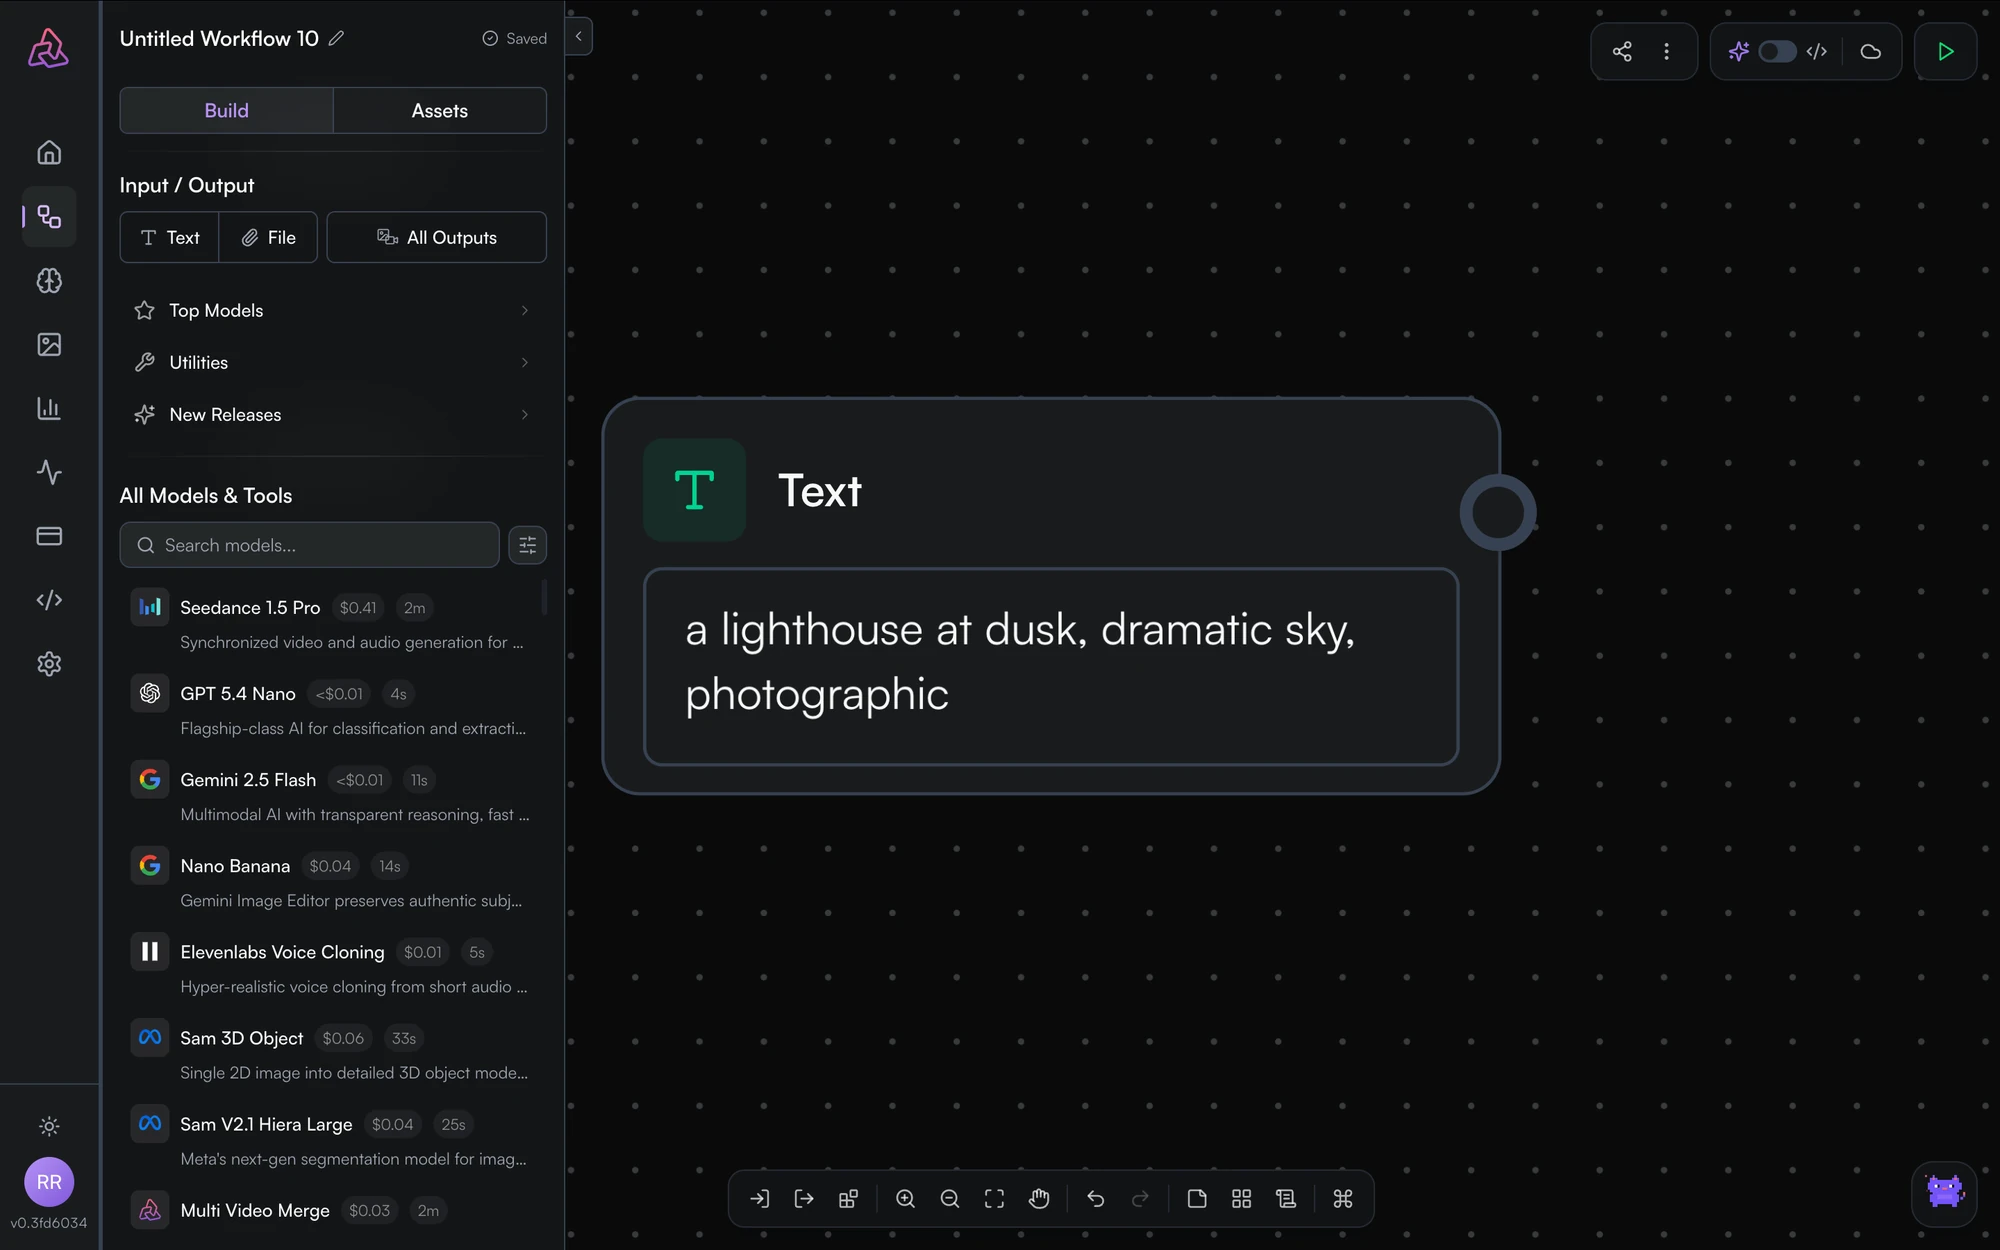
Add an image model
Open the model search, look up an image-generation model, and add it. Its parameter form appears on the node — defaults are fine for a first run.
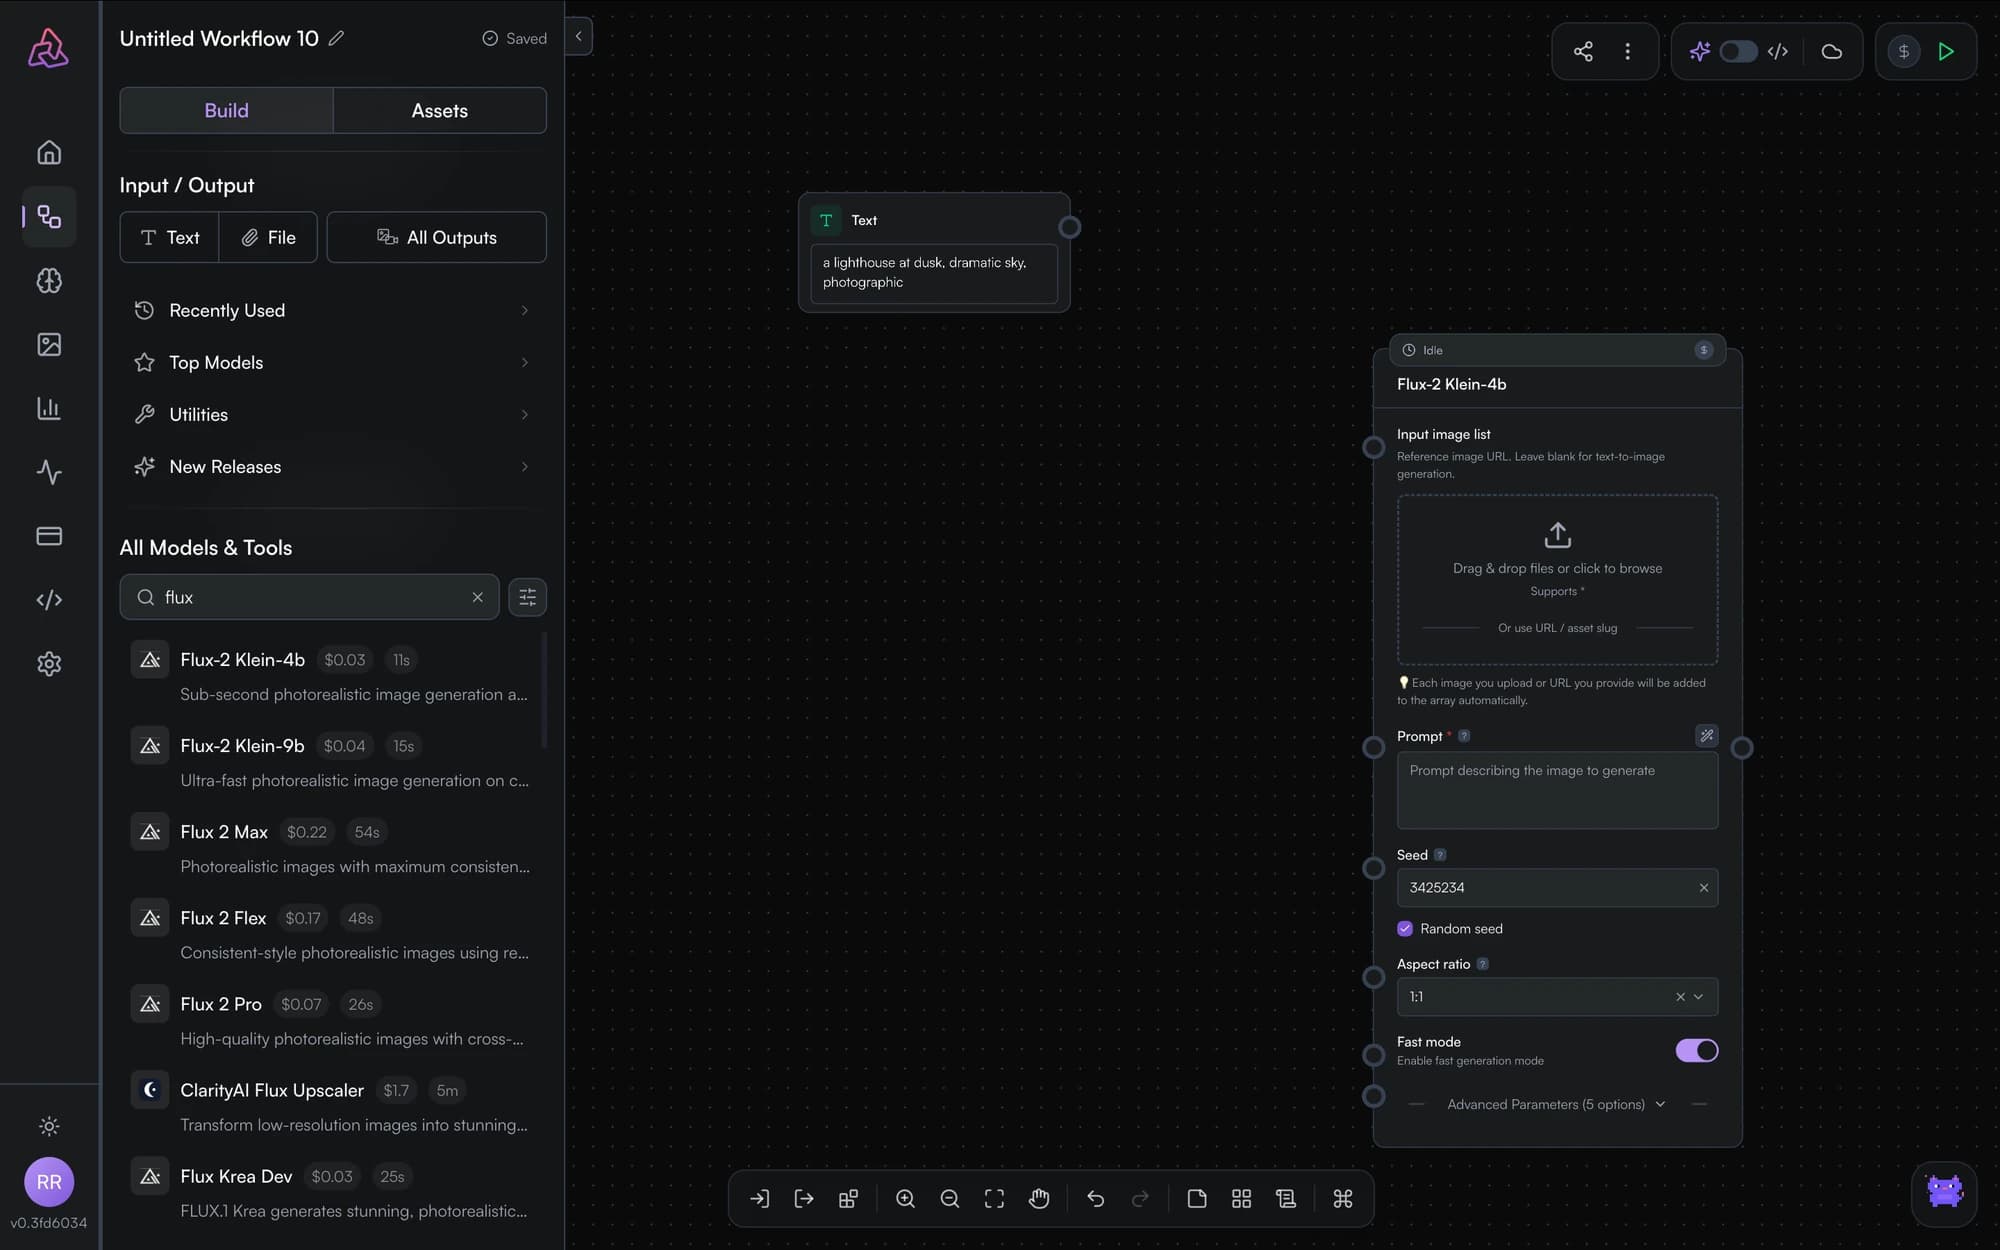
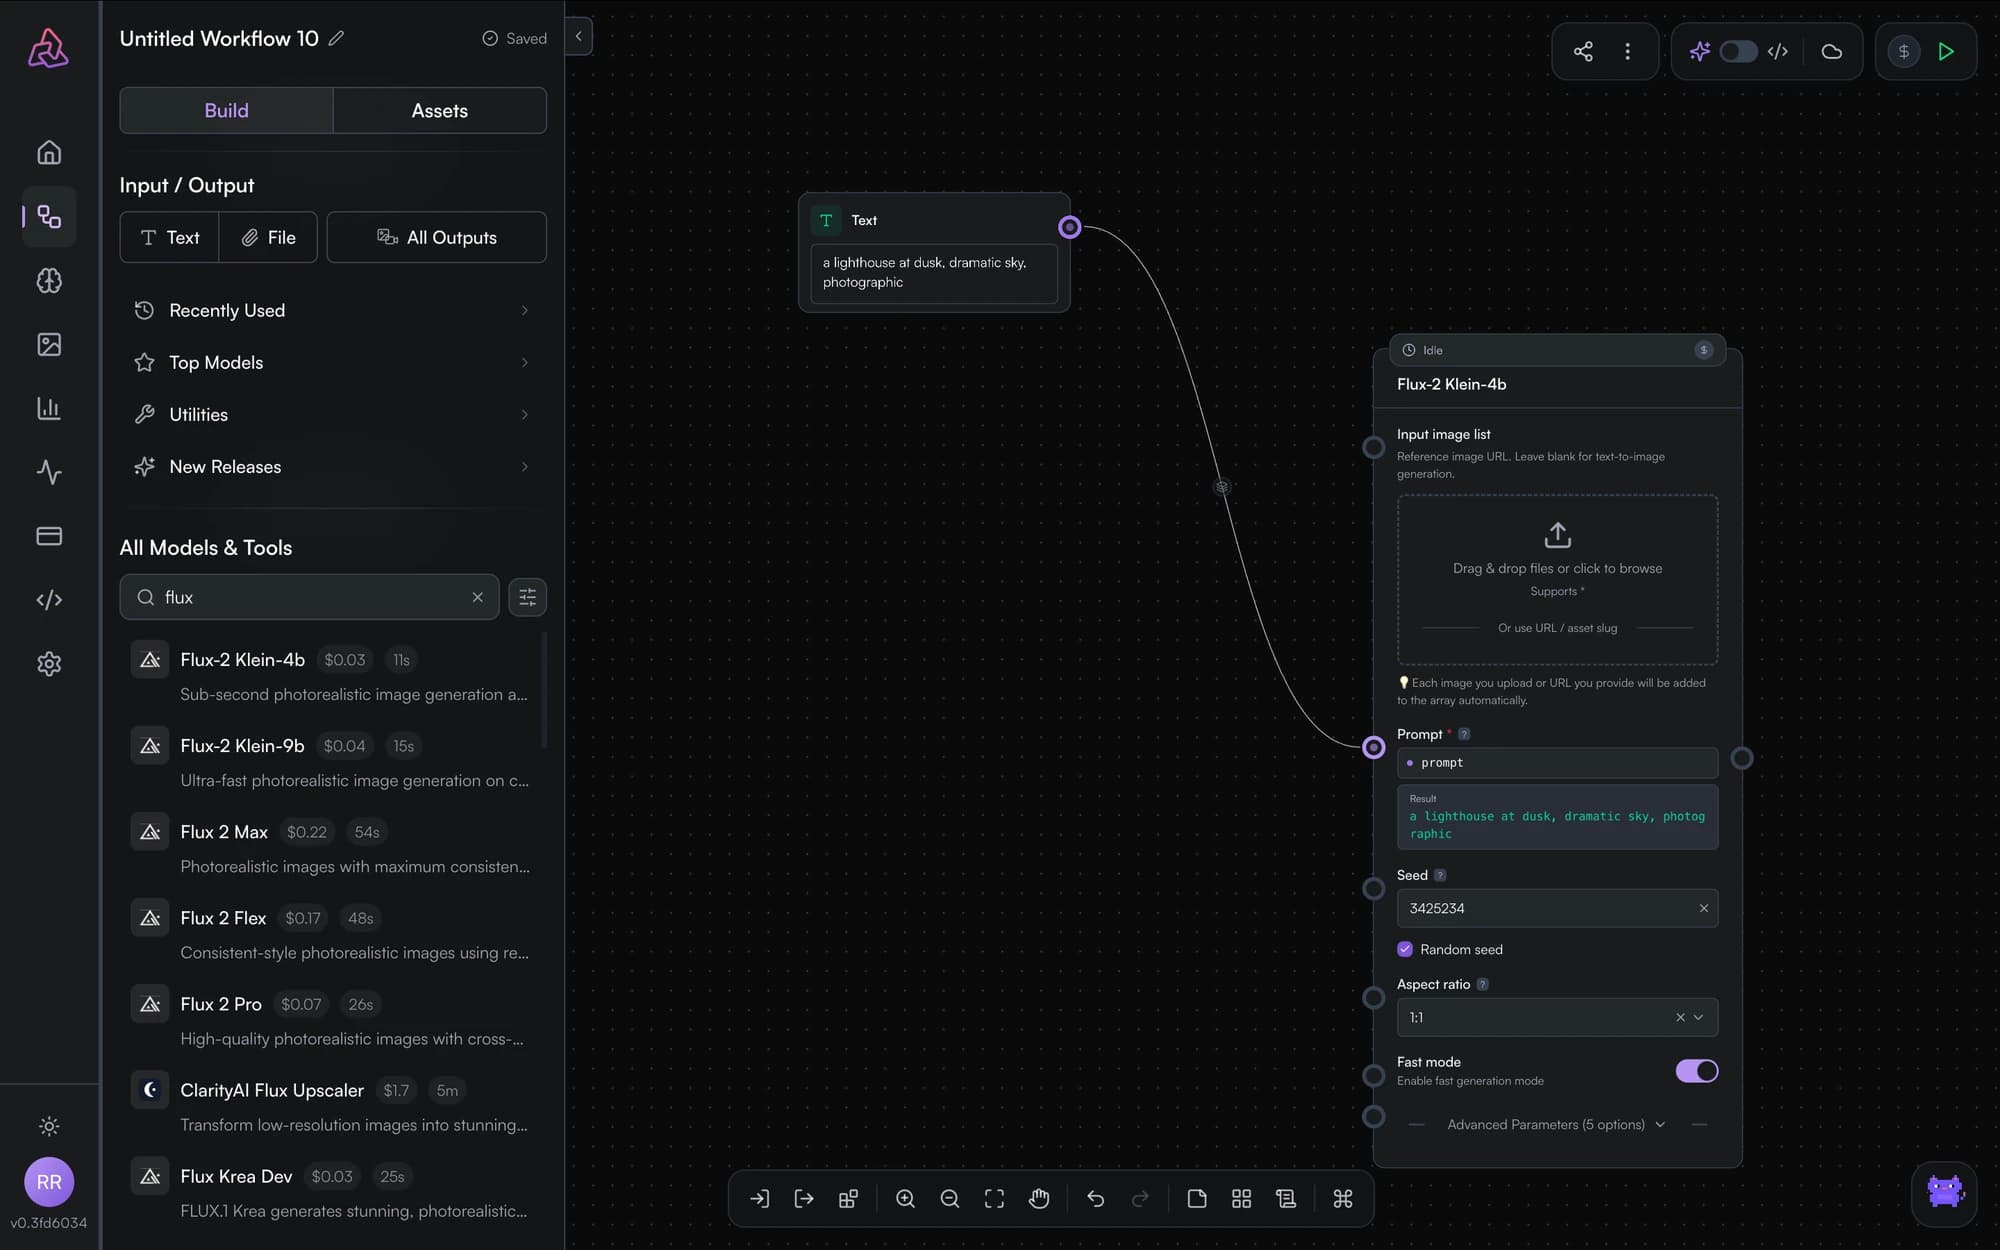
Connect input → model
Drag from the input node's output port to the model's prompt parameter. The port highlights when connected.
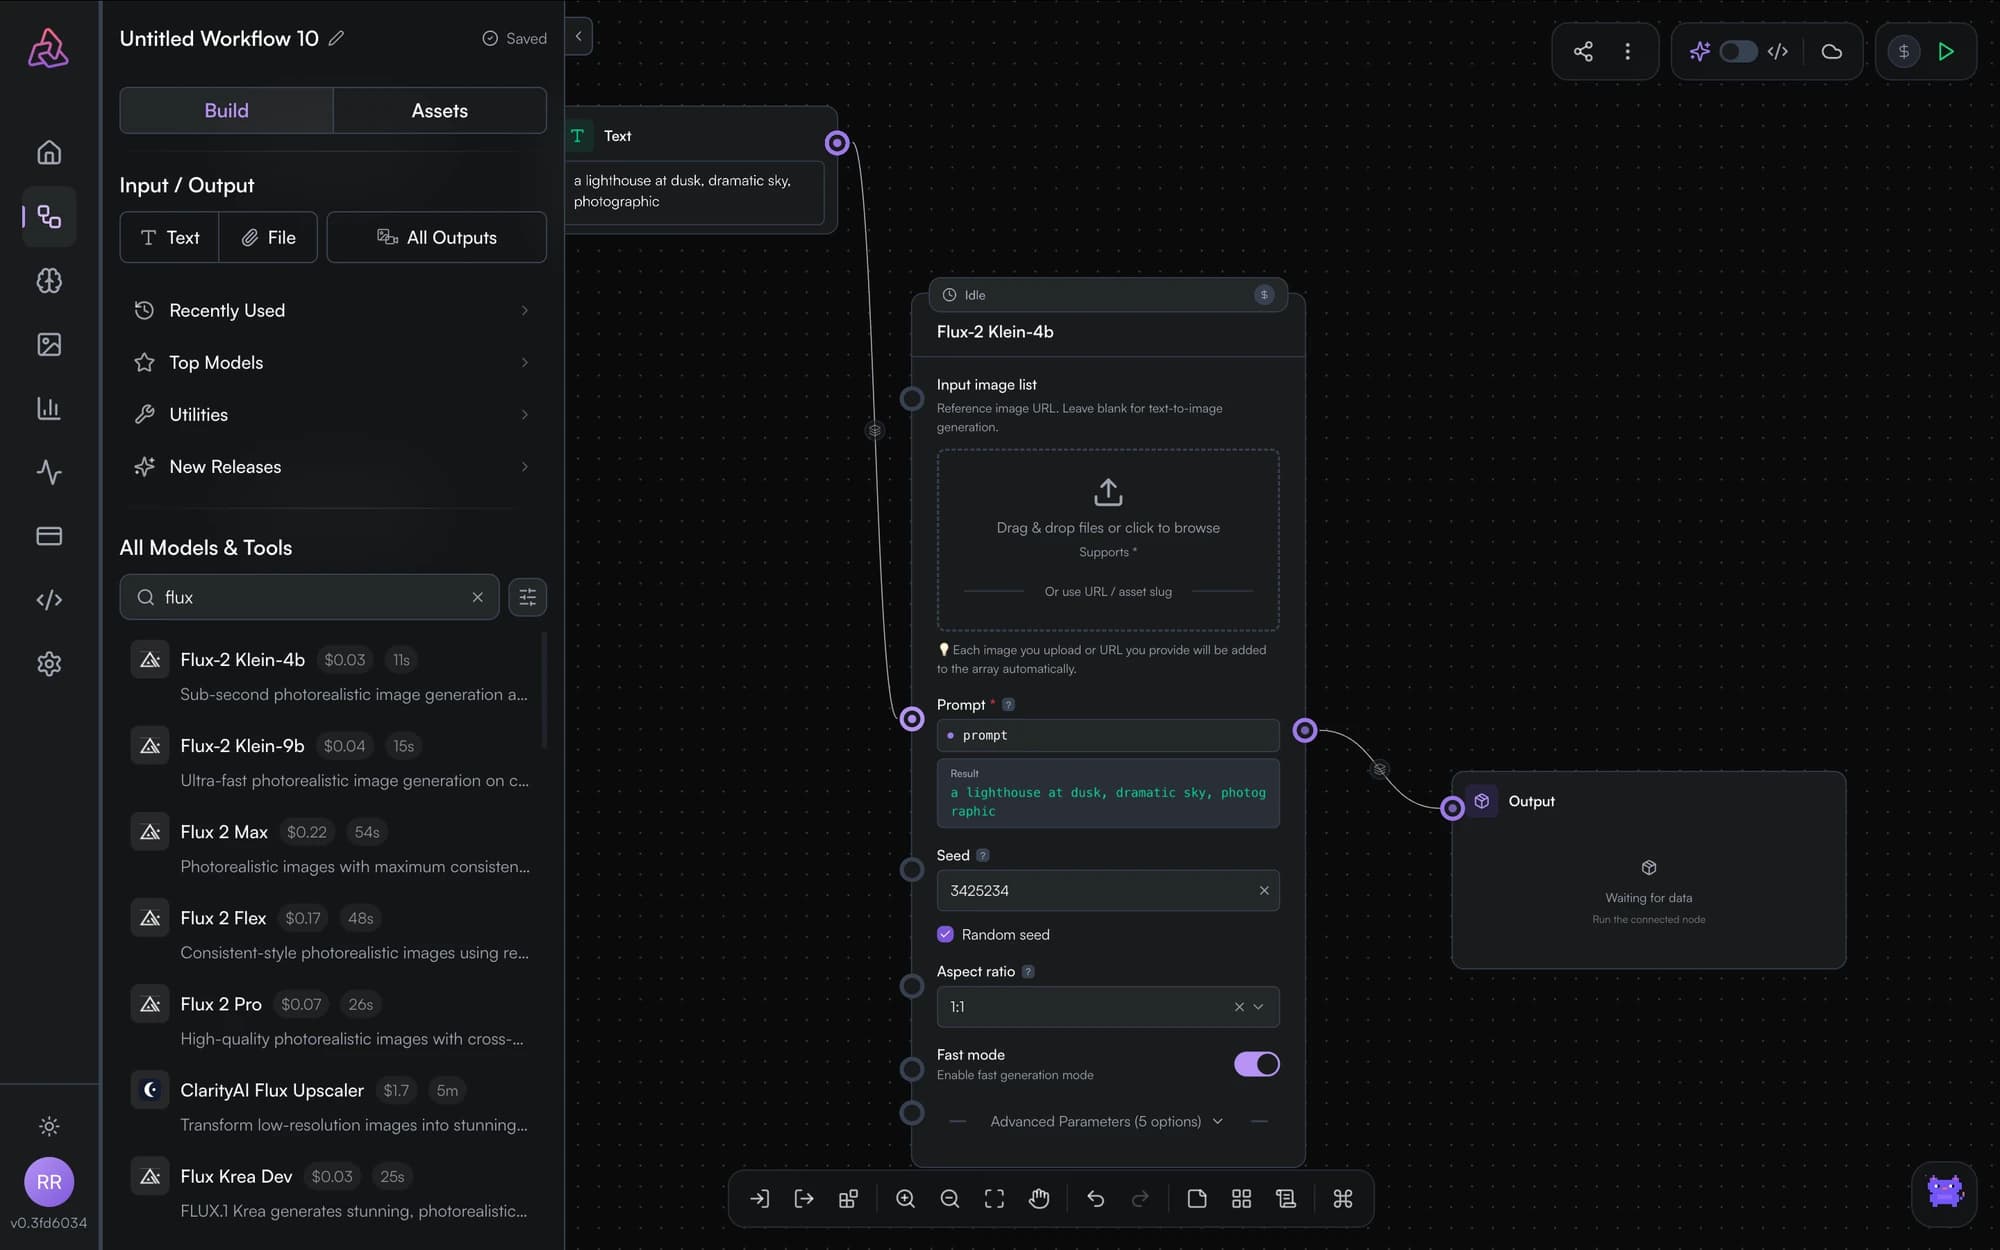
Run it
Click Run. Watch the model node go in‑progress, then your image appears in the output node. Note the execution time and credit cost reported on the node.
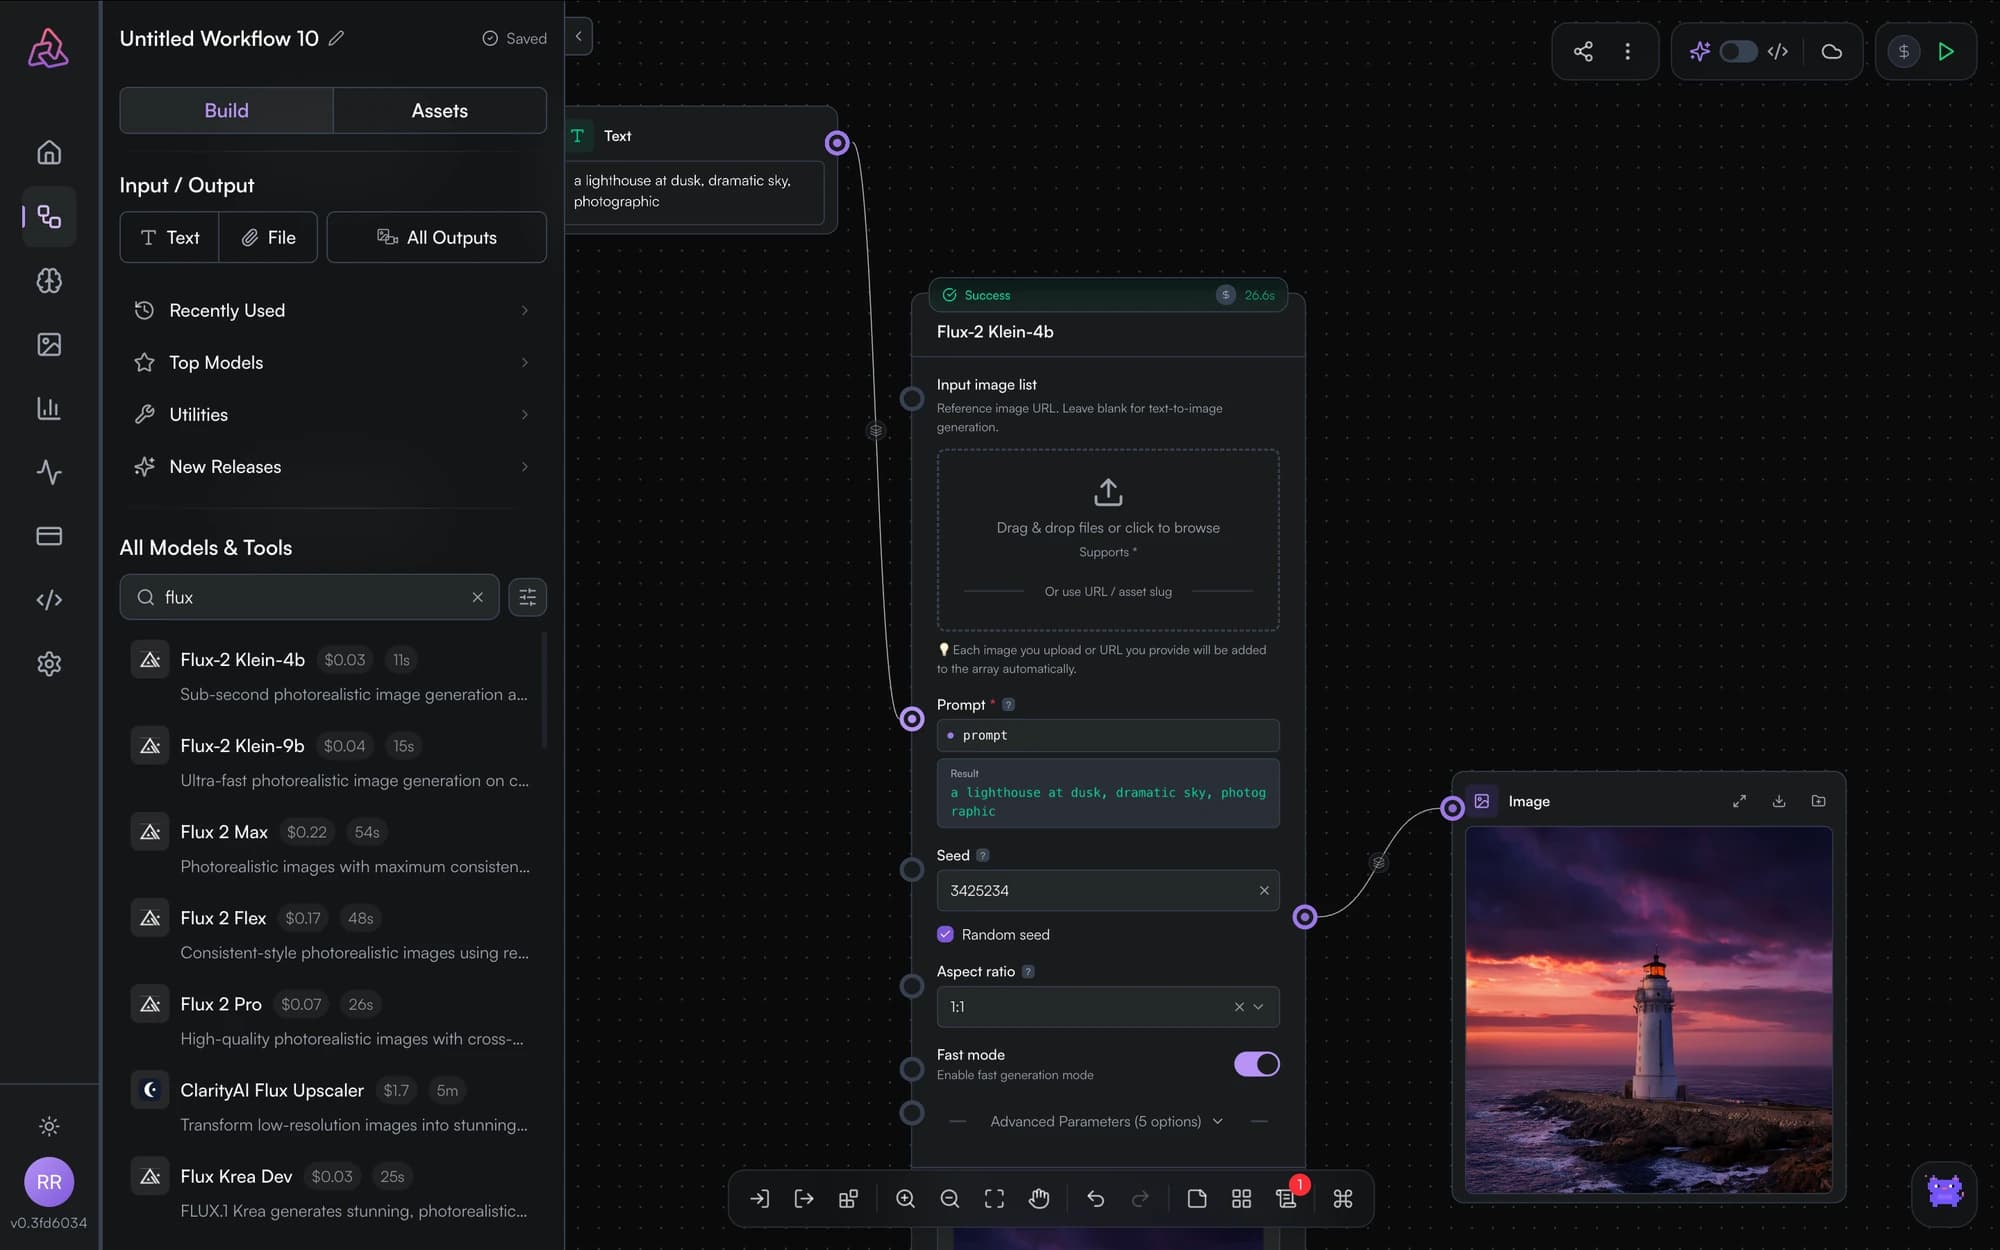
Iterate — with pinning
Tweak the prompt and run again. When part of your graph is already right, pin those nodes — pinned nodes reuse their cached output instead of re-running, saving time and credits while you iterate on the rest.
Where to go from here
The pattern you just built — input → model → output — scales to everything PixelFlow does:
Add a second model
Chain an upscaler after generation, or an LLM before it to write prompts.
Run variants in parallel
Fan one prompt out across multiple models and compare.
Publish it as an API
Name your input and output, publish, and call it from code.
Start from a template
Skip the blank canvas next time.
Notes
Document workflows on the canvas with resizable, color-coded sticky notes. Notes never execute and are stripped from published APIs.
Pinning and Caching
Pin nodes in PixelFlow to cache their output across runs — skip expensive re-execution, iterate faster, and save credits while you refine a workflow.