
Getting Started
Create your first AI workflow in PixelFlow: open the library, add input, model, and output nodes, connect them, and run — all in under ten minutes.
This page takes you from a fresh Segmind account to your first completed workflow run. For a deeper, screenshot-by-screenshot tutorial, see Build your first workflow.
Prerequisites
You need a Segmind account with credits. Every model node consumes credits when it runs — the estimated cost is shown on each node before you run it. Sign up at platform.segmind.com.
Open the workflow library
Head to PixelFlow → Library at platform.segmind.com. The library lists all your workflows with thumbnail previews. From here you can create, rename, duplicate, or delete workflows.
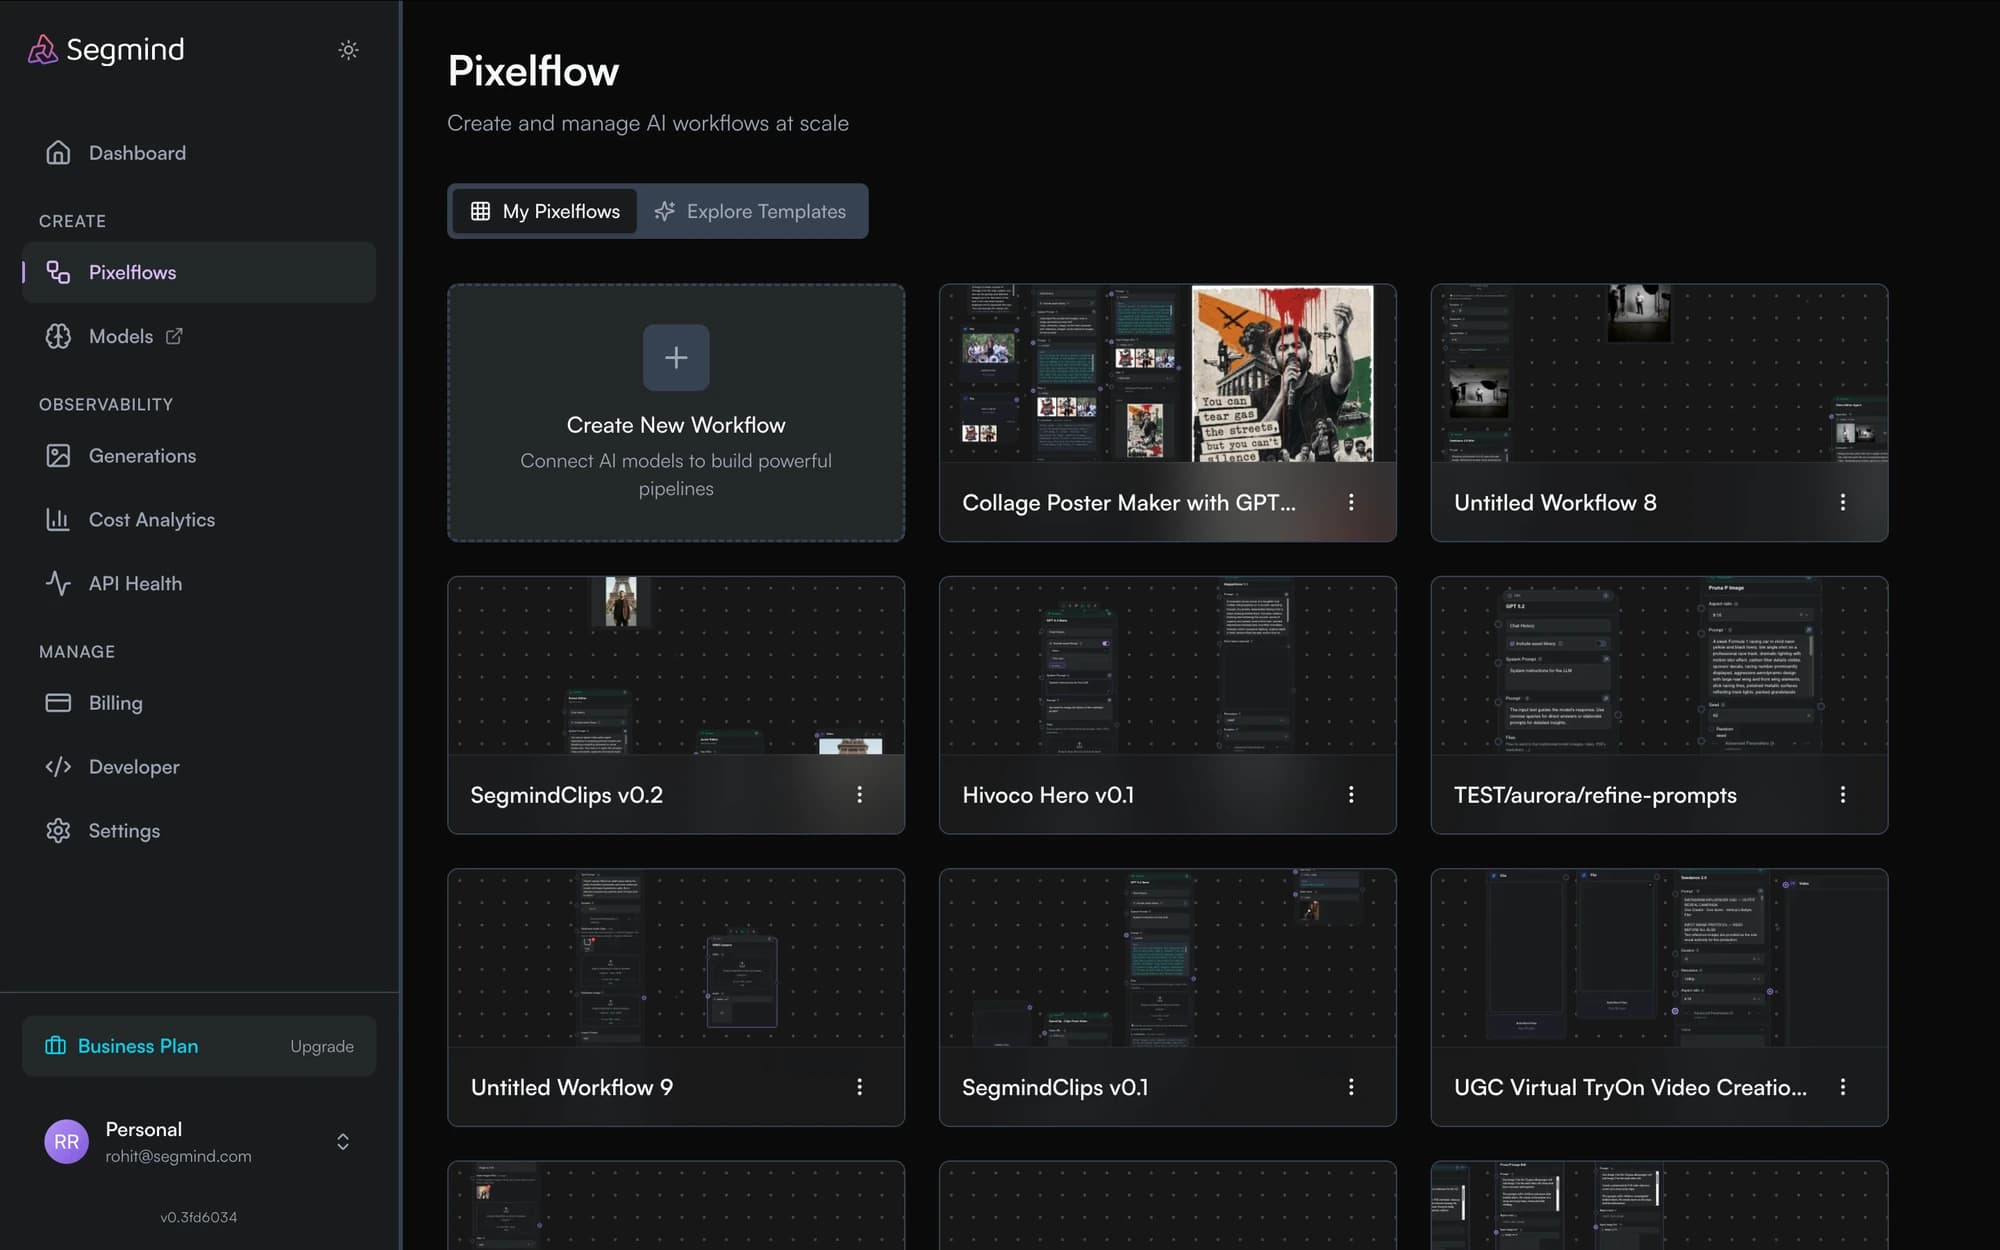
Create a workflow — or clone a template
Start from scratch or a template
Click New workflow to open a blank canvas, or browse templates and clone one — templates are pre-built workflows you can copy into your workspace and customize.
Add nodes
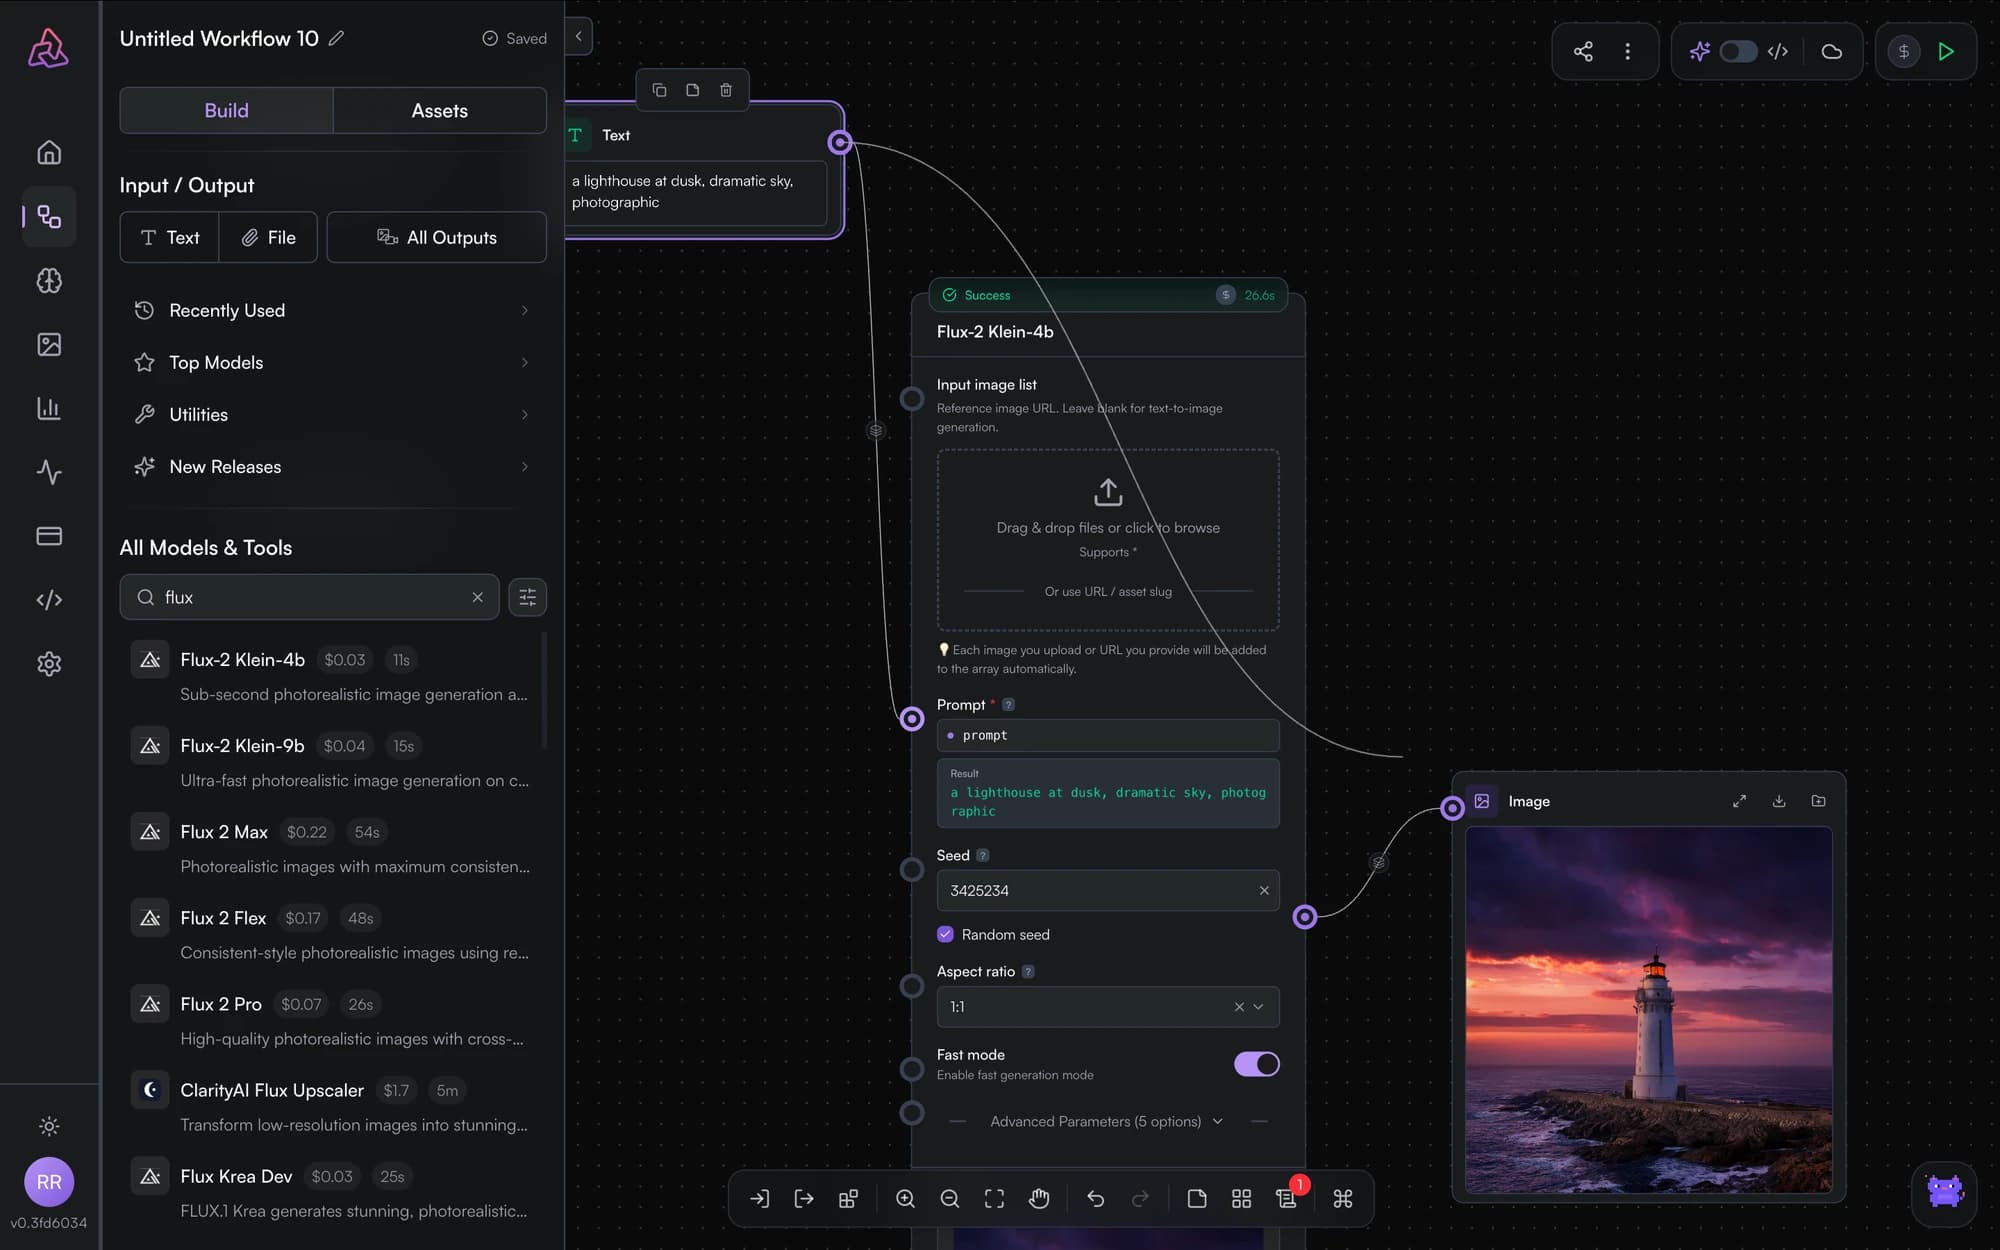
Use the sidebar to add an Input node, search for a model by name (e.g. an image-generation model), and add an Output node. See node types for what's available.
Connect them
Drag from a node's output port to the next node's input port. Connected ports light up.
Run it
Type a prompt into your input node and click Run. Nodes execute in order, showing live status. When the run finishes, the output node displays the result.
View your results
Output nodes render results in place — images appear as a gallery, video and audio get players, and text is displayed inline. Generated assets are also saved to your asset gallery for reuse in other workflows.
Where to go next
PixelFlow: Visual AI Workflow Builder
Build AI workflows on a visual canvas — chain image, video, audio, and LLM models without code, then publish any workflow as a production-ready API.
Key Concepts
The PixelFlow mental model: workflows, nodes, edges, runs, templates, published versions, pinned outputs, credits, and teams — defined in one place.