# Workflow to API
Once the users have created a workflow of their choice, they can publish the entire workflow into a single API, using workflow to API feature. Users will be able to publish and test the API in the console itself. Here is how you can publish your workflow to an API:
### How to publish workflows as an API?
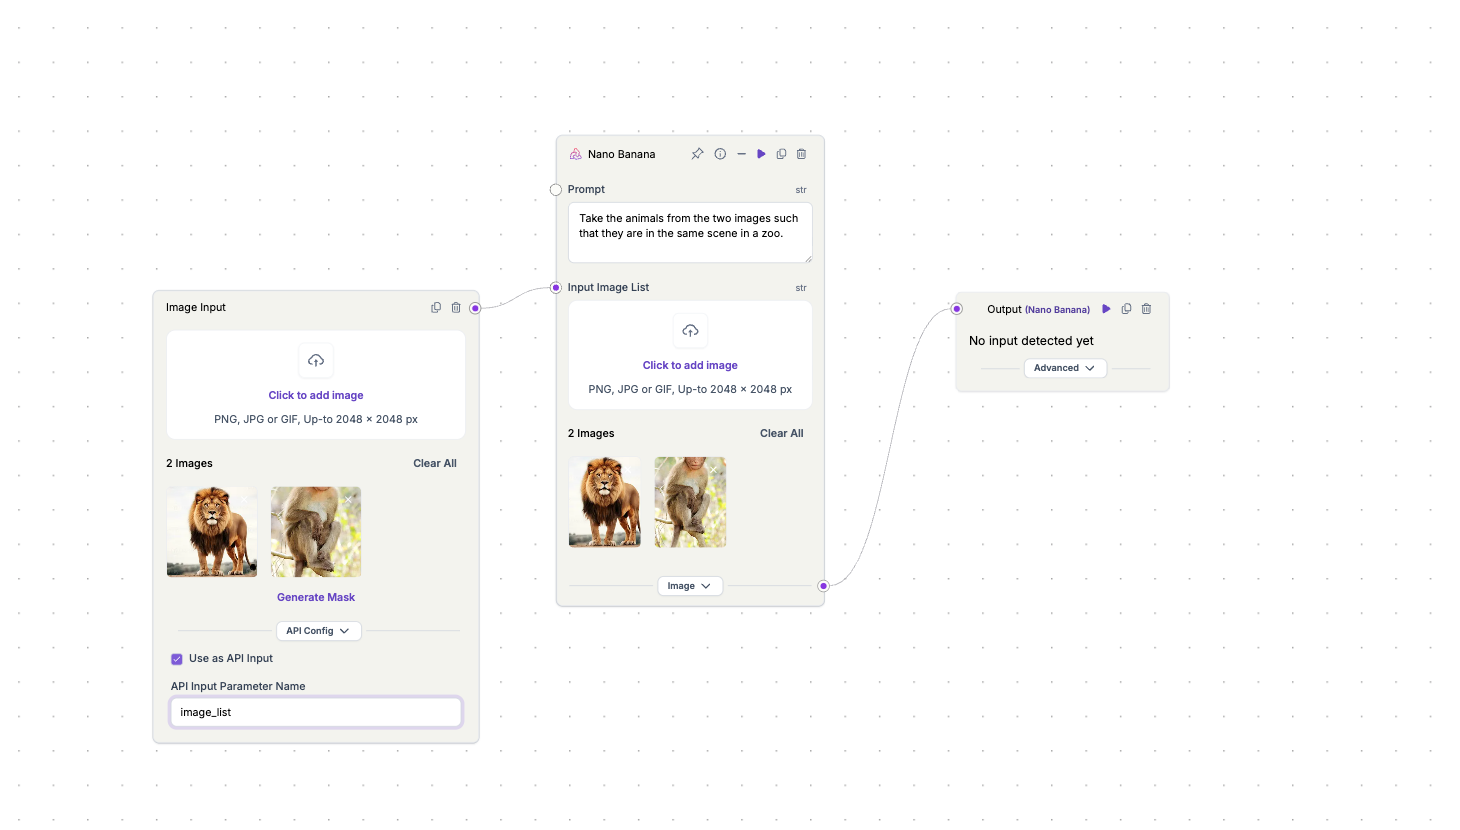
1. **Define Input Parameters:** In the advanced tab of the input nodes, check the ‘Use as API input name’ option for each input parameter. Enter the API input parameter name. Repeat this step for each input node if you have multiple inputs.
2. **Define Output Parameters:** Similarly, for the output nodes, check the ‘Use as API output name’ option. Enter the API output parameter name.
3. **Publish Workflow:** After defining your input and output parameters, publish your workflow\.You can see ‘API live” indicating your API available is ready for use.
4. **Test Your API:** You can test your API and view the ready-to-use API documentation.
### Working with Image Arrays
If an **image input node** is connected to a parameter that accepts an array, you can also pass an **array of image URLs** directly in your API call. This allows you to process multiple images at once.
For example, if your input node has a key called `image_urls`, you can send multiple images like this:
```json
{
"image_list": [
"https://example.com/image1.png",
"https://example.com/image2.png",
"https://example.com/image3.png"
]
}
```
{% hint style="info" %}
If you need to make changes, you can update your API by modifying the workflow. Any changes will be reflected in the version change ( v1, v2 and so on) next to ‘API live’.
{% endhint %}
---
# Agent Instructions: Querying This Documentation
If you need additional information that is not directly available in this page, you can query the documentation dynamically by asking a question.
Perform an HTTP GET request on the current page URL with the `ask` query parameter:
```
GET https://docs.segmind.com/pixelflow/workflow-to-api.md?ask=
```
The question should be specific, self-contained, and written in natural language.
The response will contain a direct answer to the question and relevant excerpts and sources from the documentation.
Use this mechanism when the answer is not explicitly present in the current page, you need clarification or additional context, or you want to retrieve related documentation sections.